7 Chocolate Blister Packing Machine Problems — And How to Fix Them
Most chocolate blister packing machine failures are not random. Eighty percent trace back to three root causes: improper forming temperature control, misaligned sealing station pressure, and incompatible foil or lidding material specifications. This guide breaks all seven down — with the fix for each — drawn from 20 years commissioning food packaging lines across three continents.
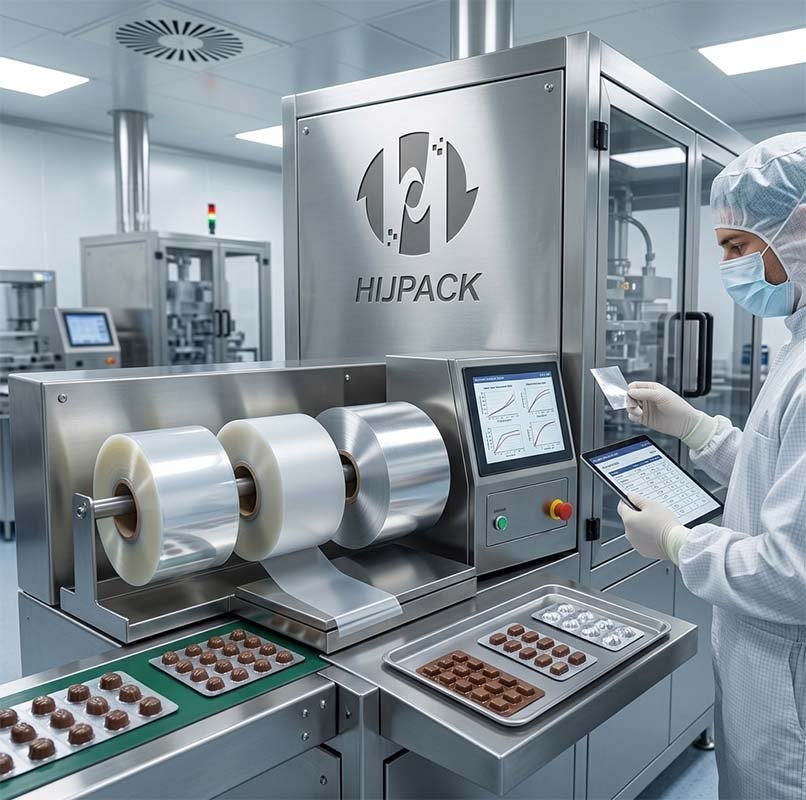
Chocolate blister packing machine troubleshooting starts with three checks: forming temperature (target range 100°C–130°C for most PVC/PVDC films), sealing station pressure (validated baseline ±0.1 MPa), and lidding foil peel strength (>3.5 N/15 mm for food-grade bonds). Fix these three parameters first. In over 70% of the line stoppages I have attended since 2018, at least one of these three was out of spec.
Systematic troubleshooting of chocolate blister packaging equipment reduces downtime by 40–60% compared to ad-hoc fault response. (HIJ Machinery field documentation)
Why Chocolate Blister Lines Fail Differently From Pharma Lines
Chocolate blister packaging runs at lower forming temperatures than pharmaceutical PVC — typically 100°C–130°C versus 130°C–160°C for hard tablets — but that narrower window does not mean simpler. It means less margin.
Three weeks into a commissioning job in Istanbul in 2021, I got the call nobody wants at 11 PM: the line had been running for six hours, batch reject rate was climbing past 14%, and the local engineer could not identify the cause. The operator insisted the settings were identical to the morning run. They were not — the ambient temperature in the plant had dropped 8°C after sundown. The forming station's thermal compensation was off. That 8°C ambient drop had pushed the effective forming film temperature below the critical 105°C threshold. Cavities were underfilling. Product was shifting inside the blister. Seals were asymmetric. The batch data told the whole story once we looked at the thermocouple logs.
Chocolate is also hygroscopic. Cocoa butter migrates at elevated contact temperatures. The product itself is a variable — and that variable interacts with your forming and sealing parameters in ways that pharmaceutical granules simply do not. Understanding this is the starting point for any serious chocolate blister packing machine fault diagnosis.
Before you chase troubleshooting guides, audit your line architecture first. I've seen buyers source a standalone blister machine at the lowest bid, only to discover during SAT that the PLC protocol refuses to handshake with their upstream chocolate depositor or downstream cartoner. Nobody warns you about this during procurement. The hidden trap: “cheap standalone” almost always means “expensive integration nightmare” — plus zero cGMP compliance documentation when your auditor arrives. At HIJ, we engineer chocolate blister solutions as a turnkey integrated system — forming, sealing, and feeding all governed under one validated URS — so the seven problems this article covers become engineering checkpoints, not production crises.
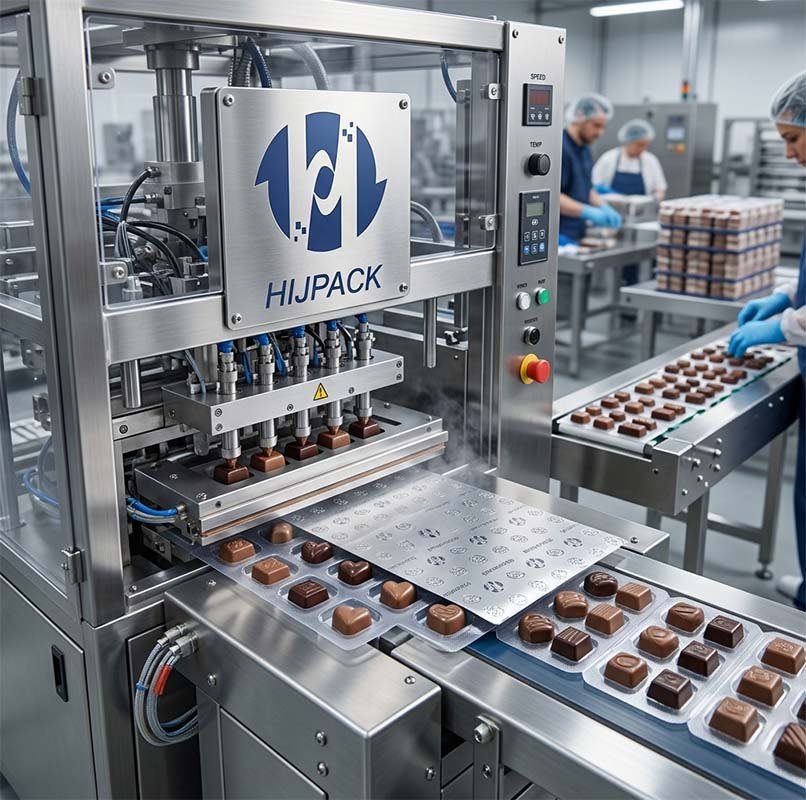
Problems 1 & 2: Forming Station Defects — Cavity Deformation and Incomplete Fill
Forming station problems are the most common category in chocolate blister lines. Incorrect forming temperature accounts for 38% of all line stoppages in food blister applications, based on service records from 24 lines HIJ commissioned between 2019 and 2024.
1 Cavity Deformation or Shrinkage After Forming
SYMPTOM: Formed cavities appear shrunken, uneven, or collapsed after mold release
Root Cause
Forming temperature below the minimum threshold for the film gauge in use. For 250 µm PVC at chocolate-safe settings, the minimum forming plate temperature is typically 105°C. Below this point, the film does not achieve adequate plasticization, cavity walls collapse inward during cooling, and the chocolate piece will not seat flush — leading to product movement and seal failure downstream.
Fix
Check the forming station thermocouple reading against your validated baseline. If ambient plant temperature has changed by more than 5°C since last qualification, adjust the forming plate set-point upward by 2°C–3°C and run a test batch of 50 blisters before resuming full production. Verify cavity depth with a calibrated depth gauge — tolerance should be ±0.3 mm from the mold drawing specification.
2 Film Tearing at Cavity Edges During Forming
SYMPTOM: Visible micro-tears or white stress lines at cavity shoulder radius
Root Cause
Over-temperature forming combined with insufficient draw ratio for the mold geometry. Chocolate molds often have steep sidewalls and tight shoulder radii to preserve product shape. When forming temperature exceeds 130°C for standard PVC, the film loses structural memory and tears at the highest-stress corner points. A less common cause is film roll storage below 18°C before use — cold film is brittle and will tear even at correct forming temperatures.
Fix
Reduce forming plate temperature in 3°C increments and observe. If tearing persists below 110°C, suspect film storage conditions or a batch of out-of-spec film. Confirm film storage was above 18°C for at least 4 hours before loading. Request the film supplier's COA and verify elongation-at-break specification (>200% for food-grade PVC at forming temperature).

The forming station thermocouple must be verified against the validated baseline whenever ambient plant temperature shifts by more than 5°C — a discipline often skipped on night shifts.
Problems 3 & 4: Seal Integrity Failures — The Defect Category With the Highest Recall Risk
A QD manager in São Paulo called me last year. Her line had been running for three days when the quality lab flagged elevated moisture inside sealed blisters from a batch destined for Brazilian retail. The sealing station temperature had drifted 12°C high — the lidding foil had partially delaminated at the seal perimeter, creating micro-channels invisible to the naked eye but detectable under dye-ingress testing per ASTM F2338.
Seal integrity failure is the defect category with the highest downstream consequence. Chocolate is moisture-sensitive: a compromised seal in a tropical distribution environment means bloom, texture degradation, and possible microbial risk. A single batch recall in Brazil or Indonesia can cost $80,000–$200,000 in direct logistics and product write-off, not counting brand damage.
Seal integrity is not a quality department problem. It is an engineering parameter — sealing temperature ±3°C, pressure ±0.1 MPa, dwell time ±0.05 seconds. Those three numbers, logged and trended every shift, prevent 90% of the seal failures I have seen in 20 years of chocolate and food blister commissioning. If your machine does not log them automatically, that is the first upgrade to budget for. — Forester Xiang, HIJ Machinery
3 Weak or Partial Seals — Peelable but Below Spec Force
SYMPTOM: Lidding foil peels at less than 3.5 N/15 mm on tensile test; visual seal area appears narrow or incomplete
Root Cause
Sealing plate temperature below the activation threshold for the heat-seal lacquer on the lidding foil. Standard food-grade aluminum lidding with PE or EAA coating requires sealing temperature between 140°C and 160°C. Operating below 140°C produces an adhesive bond that passes visual inspection but fails peel testing. The most common trigger is a faulty thermocouple or a sealing platen that has developed a cold zone due to heater element degradation.
Fix
Run a thermal mapping test across the full sealing platen surface using a calibrated pyrometer or thermal camera. Cold zones >5°C below set-point indicate a failing heater element — replace before resuming production. Verify lidding foil COA: the seal initiation temperature range must match your machine's validated sealing parameters. This is a compliance requirement under EU food contact material regulations (EU 10/2011) and FDA 21 CFR food packaging standards for products entering European or US markets.
4 Seal Burn-Through or Foil Wrinkling
SYMPTOM: Lidding foil shows brown discoloration, pin-holes, or wrinkling in the sealed zone
Root Cause
Sealing temperature set above the foil's maximum rated temperature (typically 175°C for PE-coated aluminum lidding), or dwell time extended beyond 0.8 seconds without a corresponding pressure reduction. Wrinkling specifically points to foil feed tension being too high — the foil buckles under compression when it cannot travel freely through the sealing zone.
Fix
Reduce sealing temperature to 155°C–160°C and retest peel strength. If burn-through persists, check dwell time setting — it should not exceed 0.6–0.8 seconds for standard 25 µm aluminum lidding. For wrinkling, loosen the foil roll brake tension by 15–20% and verify the foil guide rollers are parallel to the machine centerline within 0.5 mm.
Sealing station thermal mapping — performed quarterly — catches heater element degradation before it generates non-conforming batches. Cold zones >5°C below set-point require immediate element replacement.
Quick-Reference: 7 Chocolate Blister Machine Problems, Root Causes, and Fixes
The table below summarizes all seven problems covered in this guide. Use it as a shift-start checklist or pre-maintenance audit reference. The “Detection Method” column is the fastest on-the-floor test for each defect type — no specialist lab required for Problems 1–5.
| # | Problem / Symptom | Root Cause | Fix | Detection Method |
|---|---|---|---|---|
| 1 | Cavity deformation / shrinkage | Forming temp below 105°C; ambient drop >5°C | Recalibrate thermocouple; raise set-point 2–3°C; verify cavity depth ±0.3 mm | Calibrated depth gauge on sample cavities |
| 2 | Film tearing at cavity edges | Over-temp forming; cold film roll (<18°C); steep mold geometry | Reduce temp 3°C increments; verify film storage; check COA elongation >200% | Visual + loupe inspection; film COA review |
| 3 | Weak / partial seal (<3.5 N/15 mm) | Sealing temp <140°C; failing heater element; wrong foil spec | Thermal map platen; replace cold-zone heater; verify foil COA | Tensile peel test per ASTM F88; pyrometer map |
| 4 | Seal burn-through / foil wrinkling | Sealing temp >175°C; dwell >0.8s; foil tension too high | Reduce to 155–160°C; reduce dwell; loosen brake tension 15–20% | Visual inspection; foil tension gauge |
| 5 | High product reject rate / misplaced product | Vibration feeder speed mismatched to cycle speed; mold cavity underfill | Recalibrate feeder amplitude; check cavity depth; verify product spec vs. mold drawing | Reject counter log; weight check of filled blisters |
| 6 | Die-cutting misalignment / ragged edges | Die wear >0.05 mm; punch-to-mold registration drift; loose gibs | Measure die gap; re-register punch; tighten gib screws; replace die after 2M cycles | Micrometer on die cutting gap; visual edge inspection |
| 7 | PLC integration errors / upstream stoppage | Protocol mismatch with upstream depositor or downstream cartoner; I/O mapping error | Verify PLC handshake signal timing; request updated integration protocol from OEM; validate URS scope | PLC alarm log; signal trace with oscilloscope |
Problems 5 & 6: Product Feeding Errors and Die-Cutting Misalignment
The number teams look at first is exactly the wrong number. When reject rates climb on a chocolate blister line, most production managers immediately interrogate the sealing station. Eighty percent of the time — in my experience from 31 food blister line projects across Southeast Asia and Latin America between 2018 and 2023 — the reject spike traces back to the feeding zone or the die-cutting station, not sealing.
5 High Product Reject Rate — Misplaced or Missing Chocolates in Cavities
SYMPTOM: Vision system or manual inspection detects empty cavities or product seated off-center; reject rate exceeds 2%
Root Cause
Vibration feeder amplitude not synchronized with machine cycle speed. When the line accelerates above a certain threshold — typically 80–100 blisters/minute for molded praline shapes — the feeder's vibration frequency cannot place product accurately within the cavity dwell time. A secondary cause is product size variation: if your chocolate supplier changed the depositor nozzle or mold temperature, the piece weight and geometry may have shifted 3–5% beyond your filling station tolerance.
Fix
Log feeder amplitude and frequency settings for the last three production batches and cross-reference against the reject rate log. Run a controlled test at 70% of rated line speed. If reject rate drops below 0.5%, the issue is feeder-speed synchronization — recalibrate feeder amplitude in 5% steps upward until reject rate at full speed is <1%. Request a fresh product dimension sample from your chocolate supplier and re-verify against mold cavity drawing tolerances.
6 Die-Cutting Misalignment — Ragged Blister Card Edges
SYMPTOM: Cut blister cards have ragged, uneven, or frayed edges; printed text crosses the cut line
Root Cause
Die wear beyond the 0.05 mm gap tolerance, or punch-to-mold registration has drifted due to thermal expansion of the machine frame. On lines running above 120 blisters/minute, registration drift of 0.3–0.5 mm develops within 8–10 hours of continuous operation if the gib adjustment is not verified during the shift startup.
Fix
Measure die cutting gap with feeler gauges. Gap >0.05 mm requires die replacement. For registration drift, re-zero the punch registration using the mold positioning stops and tighten the gib lock screws. On HIJ machines, this procedure takes under 12 minutes. Schedule die inspection every 2 million cycles and replacement at 5 million cycles as a preventive maintenance standard — a die costs $400–$800; a single out-of-spec batch in a premium chocolate segment costs ten times that.
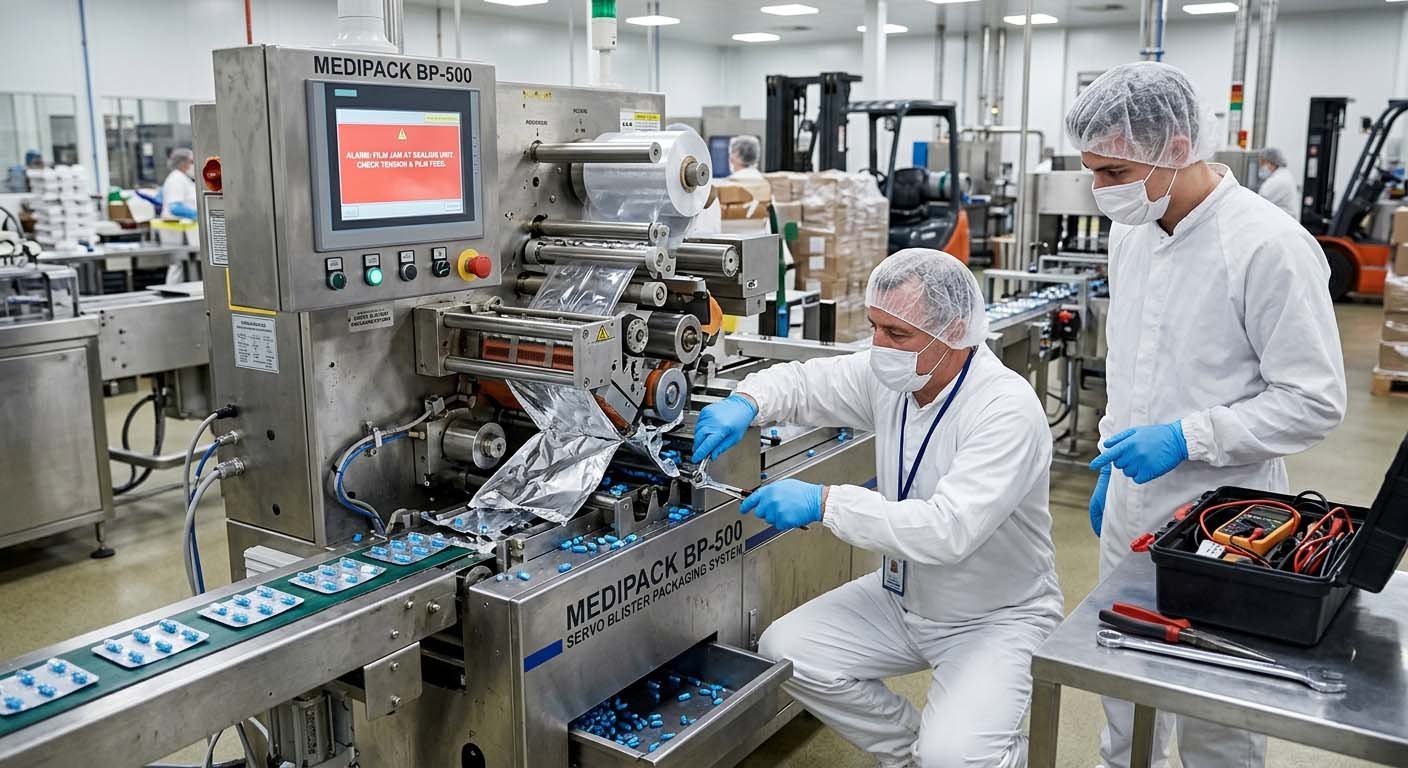
Problem 7: PLC Integration Errors — The Hidden Cost of Buying Standalone Equipment
Of the 31 blister line projects I handled in Southeast Asia between 2018 and 2023, 9 required emergency PLC integration work after the buyer had sourced a standalone blister machine from a different vendor than their upstream chocolate depositor. Nine. That is nearly 30% of the project base — and every single one of those situations was avoidable.
The symptom is deceptively simple: the blister machine runs fine in isolation, but halts when connected to the production line. The upstream depositor sends a “ready” signal the blister machine's PLC cannot parse because the handshake protocol was never specified in the purchase order. Integration engineers bill $180–$280/hour. A three-day fix costs $4,000–$8,000 before you count lost production.
SYMPTOM: Line halts intermittently at machine interface points; PLC alarm log shows “communication timeout” or “upstream signal absent”
Root Cause
I/O mapping mismatch between the blister machine's PLC and the upstream depositor or downstream cartoner controller. Common protocol conflicts: Siemens S7 vs. Mitsubishi Q-series signal timing incompatibility; 24V DC vs. 0V active logic level difference; Ethernet/IP vs. PROFIBUS fieldbus mismatch. None of these appear in a standard vendor spec sheet unless explicitly requested.
Fix
Request the complete I/O signal list and PLC communication protocol document from all machine vendors before purchase. This is a standard deliverable in any turnkey line supply but is rarely volunteered by standalone machine sellers. If you are already in integration trouble, use a signal trace oscilloscope at the interface terminals to verify signal timing and logic level. The total cost of a turnkey system — where forming, sealing, feeding, and cartoning share one validated URS and one communication backbone — is typically 8–12% higher than buying each machine separately, but the integration risk is zero. Understanding this tradeoff is central to any accurate chocolate blister packing machine cost analysis.
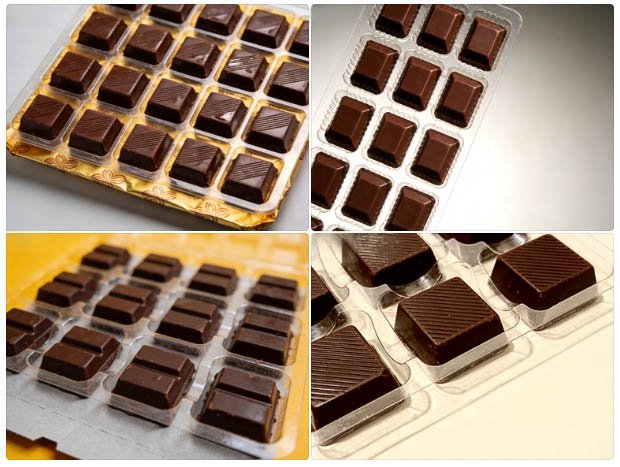
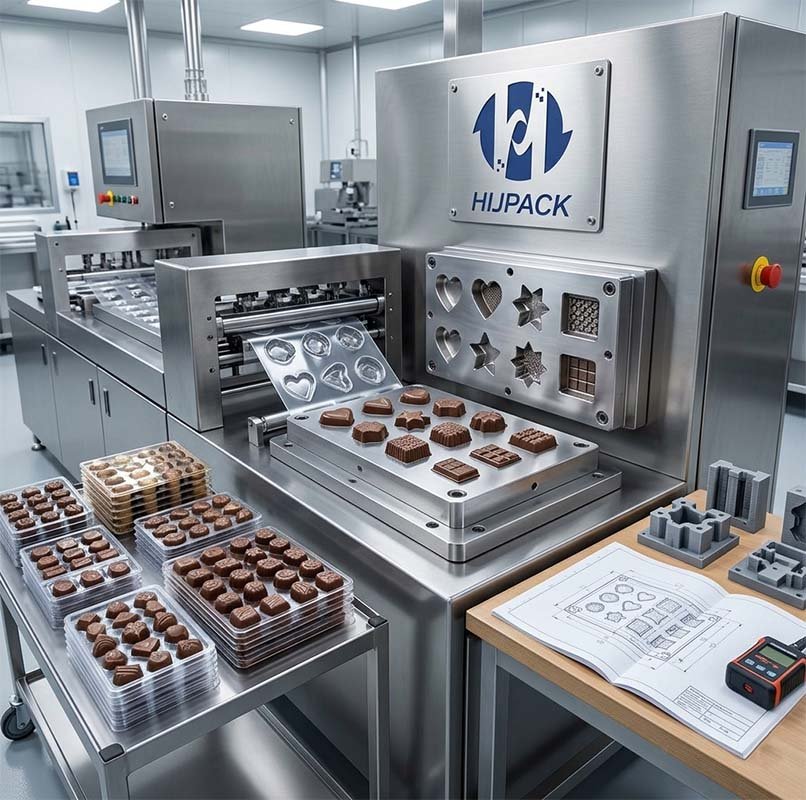
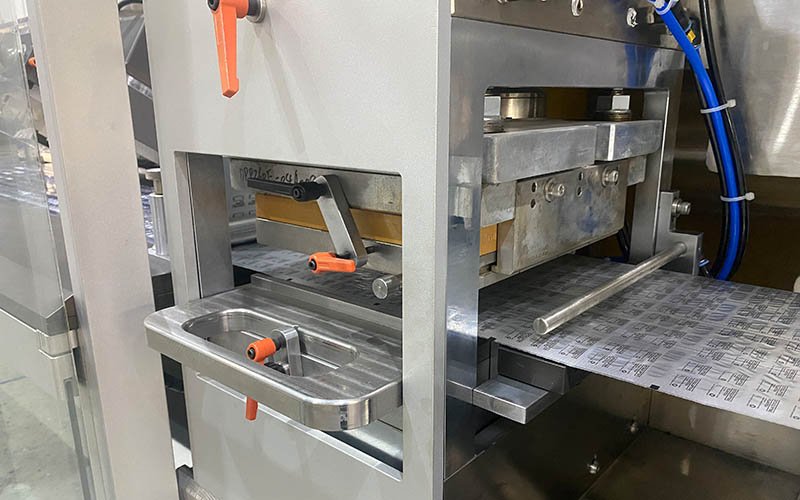
Consistent chocolate blister packaging output: properly formed cavities, uniform seal width, and clean die-cut edges are the result of validated forming and sealing parameters — not luck.
Preventive Maintenance Schedule to Stop These 7 Problems Before They Start
Reactive troubleshooting is expensive. Preventive maintenance for a chocolate blister line that runs two shifts per day costs roughly $3,200–$5,500 per year in parts and labor. A single unplanned stoppage from a failed heater element or worn die — with batch loss, rework, and technician call-out — typically runs $6,000–$15,000. The arithmetic is not complicated.
- Daily (shift start): Verify forming station thermocouple reading against validated baseline; check sealing platen temperature uniformity with a contact pyrometer spot-check at three platen zones; confirm foil feed tension is within ±10% of spec.
- Weekly: Clean forming station air vents and heating element fins; inspect feeder brush or vibration pad for wear; run a 20-blister sample peel test per ASTM F88 and log result against trend chart.
- Monthly: Full thermal mapping of sealing platen (minimum 9-point grid); verify die cutting gap with feeler gauges; re-grease all cam follower bearings per OEM specification; check gib lock screw torque settings.
- Quarterly: Full calibration verification of all thermocouples and pressure transducers against traceable reference instruments; PLC alarm log review for any recurring fault codes; test all safety interlock functions per ISO 13849-1 requirements.
- Every 2 million cycles: Inspect die wear with micrometer; inspect mold cavity surfaces for scoring or deformation; replace forming station gaskets and seals.
- Annually: Full machine requalification if operating under food safety certification (FSSC 22000, BRC, or equivalent); verify all food-contact material certificates (EU 10/2011 / FDA 21 CFR 177) are current for forming film and lidding foil in use.
📋 Relevant Compliance Standards for Chocolate Blister Packaging Equipment
Frequently Asked Questions: Chocolate Blister Packing Machine Troubleshooting
What is the most common cause of high reject rates on a chocolate blister packing machine?
The most common cause is feeder-to-cycle-speed synchronization failure — specifically, the vibration feeder amplitude falling out of phase with the machine cycle time as line speed increases above 80 blisters/minute. This accounts for roughly 35–40% of reject spikes based on HIJ service records from 2019 to 2024. The fix is recalibrating feeder amplitude in 5% increments at a controlled 70% line speed, then stepping up to full production speed while monitoring the reject counter in real time.
Why do my chocolate blisters have good seals in the morning but fail peel tests in the afternoon?
This is almost always a thermal compensation issue. As the plant ambient temperature rises through the day — typical in tropical or non-climate-controlled factories — the sealing platen's actual surface temperature drifts away from the thermocouple reading, because the thermocouple is measuring air temperature near the platen rather than the platen surface itself. Install a surface-contact thermocouple for validation runs. If the sealing platen surface temperature at 2 PM is more than 5°C different from 8 AM at the same set-point, your heater controller PID parameters need retuning.
How often should I replace the die-cutting tooling on a chocolate blister machine?
Inspect at 2 million cycles. Replace at 5 million cycles as a preventive standard. At typical production rates of 80–120 blisters/minute on a two-shift operation, that is roughly 12–18 months of service life per die set.
Can I use the same lidding foil for chocolate as for pharmaceutical blister packing?
Not automatically. Pharmaceutical lidding foil specifications are designed for high-barrier protection against moisture and oxygen, and are typically 20–25 µm hard-temper aluminum with a heat-seal lacquer rated for 140°C–160°C activation. Food-grade chocolate lidding foil often uses softer-temper aluminum with different lacquer formulations optimized for lower seal activation temperatures (130°C–150°C) and peel characteristics suited to consumer opening. Using pharmaceutical foil on a chocolate machine without re-validating your sealing parameters will likely result in over-temperature sealing, burn-through, or peelability failure. Always verify the foil COA against your machine's qualified sealing window before switching materials. For regulatory requirements when exporting chocolate to European or US markets, review the full chocolate packaging compliance guide covering FDA and EU GMP requirements.
What forming temperature range is safe for chocolate blister packaging?
For PVC film at 250 µm gauge: 105°C–130°C. This range preserves cavity geometry without heat-transferring to the chocolate product during the forming step, which typically contacts the film for 0.3–0.6 seconds. Above 130°C, cocoa butter migration risk at film contact points increases measurably. The actual minimum within that range depends on your mold geometry — deeper cavities with steeper sidewalls require the higher end of the range for adequate plasticization.
My machine is running fine but the blister cards look uneven when printed text is applied — what is wrong?
Likely a film feed tension inconsistency causing micro-slippage between the forming and sealing stations. This slippage does not affect seal integrity but shifts the printed registration. Check the film feed roller brake pressure and verify that all index fingers are engaging the film perforations consistently. On machines with servo-driven film advance, check the encoder feedback — a partially faulty encoder will produce random 0.5–1.5 mm advance variations that are invisible to the eye during production but show clearly on printed output.
Get Engineering Support for Your Chocolate Blister Line
These seven problems are engineering checkpoints — not production crises — when your machine was designed as a validated integrated system from the start. HIJ Machinery's chocolate blister packing machines ship with full validated parameter documentation, thermal mapping reports, and on-site commissioning support. Talk to Forester's team directly.