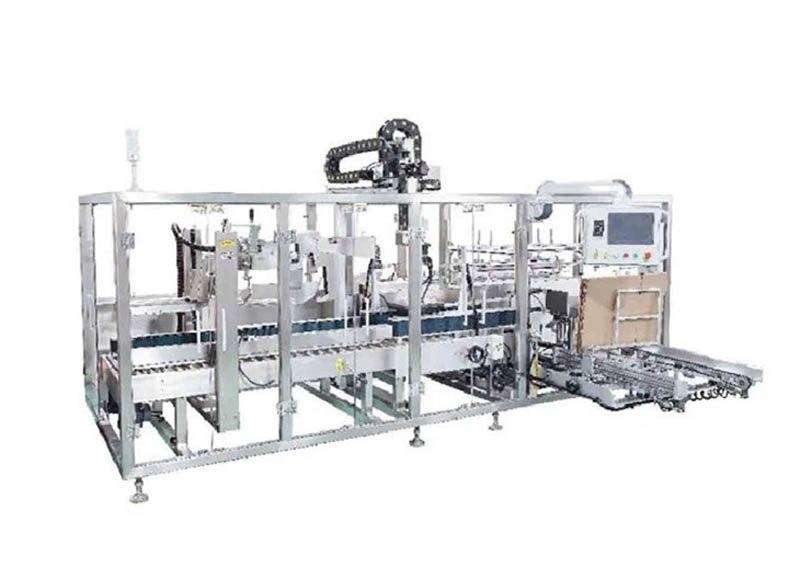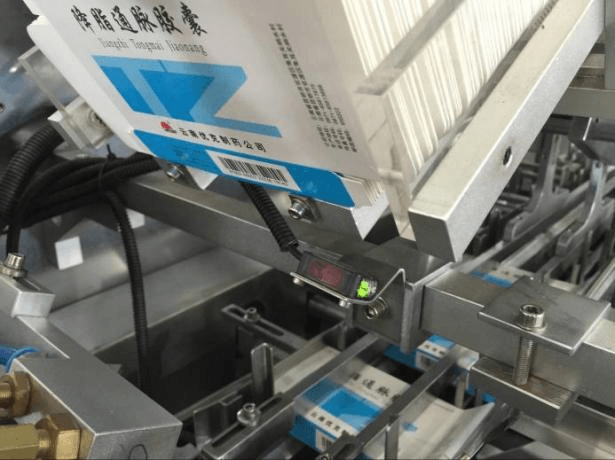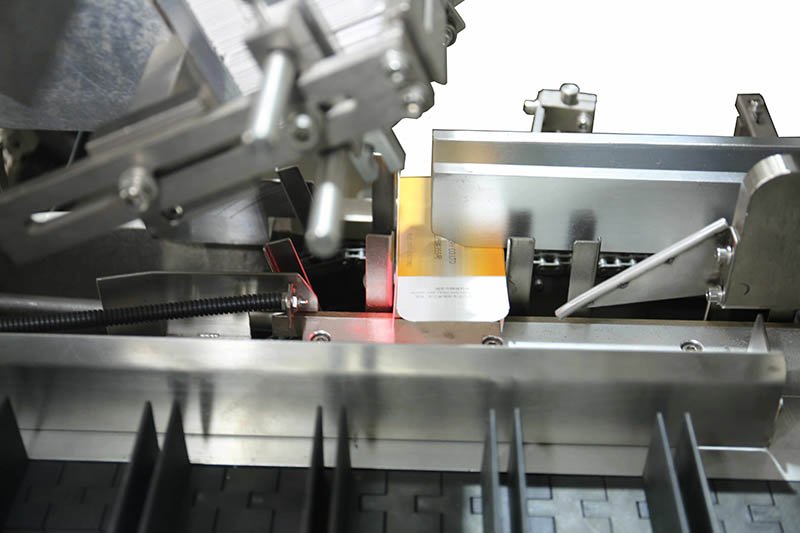
Capsule blister troubleshooting guide
Capsule blister packing machine faults often appear at the end of the web path even when the cause began earlier. An off-centre cut may start with web tracking. A seal defect may begin with a capsule sitting above the cavity. A sudden reject increase may be a real product fault, an inspection fault or a tracking problem between the two.
This guide separates seven recurring symptom groups and gives a safe diagnostic order: protect product, record the pattern, locate the station where the defect first appears, compare recent changes, test one approved correction, and confirm the result with finished-pack evidence.
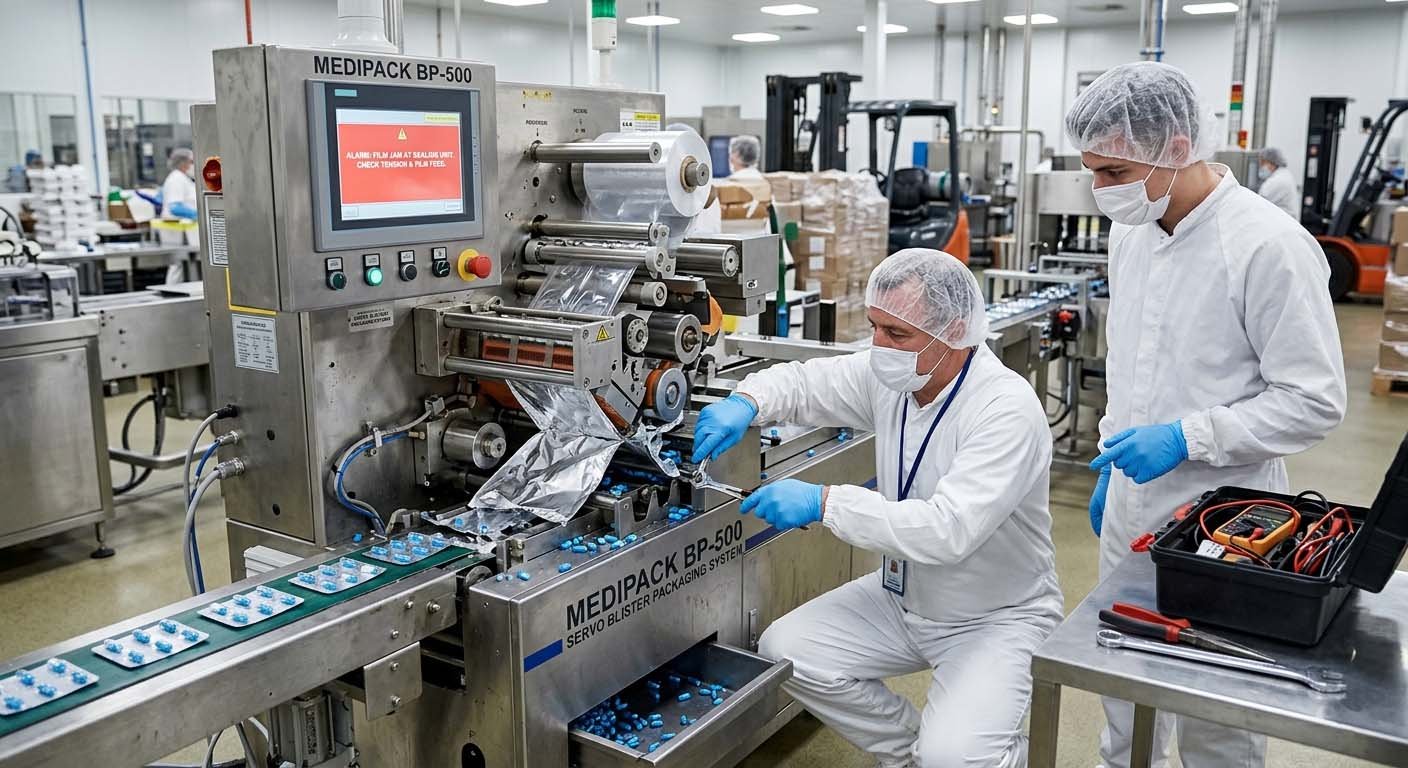
Safety first: stop the process and secure product according to the site procedure. Only trained and authorized personnel should remove guards, isolate energy, enter hazardous areas or dismantle equipment. Never bypass an interlock to continue diagnosis.
Diagnostic order
Use one troubleshooting sequence for every capsule blister fault
- Contain the result. Identify affected product, web positions, finished cards, rejects and waste. Follow the approved hold and line-clearance process.
- Describe the symptom. Record which lane, cavity, card position, station and time are affected. Photograph or retain samples if the procedure allows.
- Check the pattern. Decide whether it is constant, intermittent, position-specific, linked to warm-up, linked to a roll or batch, or triggered after a stop.
- Review recent changes. Look at product batch, material roll, tooling, recipe, cleaning, maintenance, operator intervention, room condition and upstream/downstream equipment.
- Compare actual with approved. Check material identity, tool identity, recipe, sensor status, alarm history and measured results against controlled records.
- Change one authorized variable. Avoid several simultaneous adjustments that erase the evidence of cause and effect.
- Confirm and document. Run enough material under the approved conditions to show that the fault is removed and no new defect was introduced.
| Problem | First evidence to collect | Start checking here |
|---|---|---|
| 1. Empty or double-filled pockets | Lane, pocket position, capsule batch and feeder condition. | Product presentation, guides, feeder and detection. |
| 2. Capsule jams or damage | Damage type, contact point, frequency and product condition. | Hopper, tracks, brush or placement path. |
| 3. Shallow cavities or web tears | Cross-web position, material roll and forming-tool pattern. | Web, heating/forming inputs, cooling and tooling. |
| 4. Weak, wrinkled or incomplete seals | Seal location, product in seal land and material combination. | Filled pocket, lidding path, seal surface and recipe. |
| 5. Registration or cutting errors | Machine direction, cross-web direction and repeat pattern. | Web guide, index, registration sensor and punch alignment. |
| 6. Code, vision or reject faults | Expected result, observed result and affected web tracking. | Trigger, lighting, recipe, encoder and reject mapping. |
| 7. Reject spikes or repeated stops | Time trend, alarm order, upstream/downstream state and interventions. | First alarm and first changed process condition. |
Problem 1
Empty pockets, double fills or capsules sitting above the cavity
First separate a feeding fault from a detection fault. Inspect the formed web before sealing. If the physical pocket is empty or contains the wrong count, follow the product path upstream. If the pocket is correct but the inspection reports a defect, preserve a sample and review the inspection setup.
Challenge pieces used to test empty-pocket detection must be controlled and reconciled. The reject system should show that the affected web position becomes the correct finished-card reject, including across planned stops and restarts.
Problem 2
Capsule jams, scuffing, dents or shell separation
Damage can occur before a capsule reaches the blister. Trace the product from the hopper through every chute, rail, brush, gate and placement point. The earliest new mark or deformation is more useful than the location where the machine finally stops.
Check for mixed capsule dimensions, damaged incoming product, excessive accumulation, sharp or contaminated contact surfaces, incorrect clearances, misassembled format parts and abrupt transfers. For soft or tacky products, note whether the fault changes with product residence time or local conditions. Do not assume a hard-shell recipe is suitable for another capsule construction.
A jam is not permission to add force. Increasing vibration, brush action or transfer speed may move product temporarily while increasing shell damage or creating a different defect. Restore the approved condition and prove the change with inspected samples.
Escalate when damage continues with correct product and verified format parts, when the contact surface is worn or damaged, or when a modification to a guide, feeder or pocket is proposed. Tooling modification requires drawing control and repeat acceptance, not an informal adjustment.
Problem 3
Shallow, uneven or split cavities and forming-web tears
Run or inspect formed web before product loading when the procedure allows. This separates the forming system from later product and sealing effects. Record whether the defect is repeated in the same pocket, limited to one side of the web, tied to a splice or roll edge, or distributed randomly.

Check in this order
- Confirm forming-web identity, construction, thickness specification, roll direction and storage/release status.
- Check web tracking, tension, guides, splice condition and visible edge damage.
- Verify the correct forming tool and recipe are installed and that warm-up or cooling conditions meet the approved procedure.
- Compare actual forming inputs with calibrated measurements and maintenance records.
- Inspect accessible tool surfaces, vents, seals and cooling passages under the approved isolated condition.
A fixed temperature from another article, material or machine is not a repair instruction. The forming window depends on the actual web, heating design, tool, draw, index time and cooling. If the approved window no longer produces conforming pockets, investigate material, measurement and hardware condition before widening the process limits.
Problem 4
Wrinkled lidding, incomplete seals or inconsistent opening force
Begin by checking whether the pocket is correctly formed and whether the capsule is fully seated. Product, dust or fragments in the seal land can create a local channel even when the sealing equipment is operating as intended.
Then confirm the forming and lidding webs, their direction and registration, the approved recipe, lidding tension, seal-surface cleanliness and tool condition. Map the defect: a single recurring position suggests a local tool, contamination or support issue; a cross-web band suggests a different cause from random individual pockets; a defect that appears after warm-up may require comparison of actual measured conditions over time.
Visual inspection can identify wrinkles, contamination and obvious incomplete bonds, but it does not by itself prove the required package performance. ASTM F88/F88M covers measurement of seal strength for flexible barrier materials and notes its use in process validation and control. Use the pack specification to define the relevant method, direction, conditioning, sampling and acceptance criteria.
Problem 5
Artwork drift, misplaced perforation or off-centre punching
Mark whether the error runs in the machine direction or across the web. Machine-direction drift points the investigation toward index length, printed-repeat sensing, web stretch or station timing. Cross-web drift points toward roll position, edge guiding, lateral tool position or a damaged roll core. A constant offset differs from an error that grows through a run.
Compare formed-pocket pitch, print registration, perforation and punch position on the same marked web sample. This shows where alignment first departs. Review web tension, guide condition, registration-sensor cleanliness and contrast, encoder or transport alarms, punch mounting and recent tooling work.
Do not correct the final punch position if the cavity and artwork are already drifting upstream. Moving the last tool may make one sample look centred while reducing seal land or creating a new error elsewhere. Restore the common reference and then verify all registered operations against the approved drawing.
Problem 6
Unreadable codes, false vision rejects or failed reject tracking
Separate print creation, print inspection and physical rejection. A code can be present but unreadable; readable but wrong; correct but rejected by an unsuitable vision recipe; or correctly detected while the wrong finished card is removed because tracking was lost.
- Printing: confirm approved data, artwork location, substrate condition, trigger and print-system status.
- Inspection: confirm the correct recipe, lighting, focus, reference sample, defect class and decision output.
- Tracking: follow the affected position through every index, stop and restart to the reject point.
- Rejection: verify physical removal, reject confirmation, secure collection and reconciliation.
21 CFR 211.68 requires automatic, mechanical and electronic equipment used in drug-product packing to be routinely calibrated, inspected or checked under a written program, with records maintained. It also requires appropriate controls over computerized systems and accuracy checks for input and output based on system complexity and reliability.
Never test by weakening a real production control. Use approved challenge samples and a documented protocol. Reconcile every challenge item before returning the line to production.
Problem 7
Reject spikes, repeated stops or faults that appear only after start-up
A rising reject rate is a result, not a root cause. Break it down by defect code, lane, station, product batch, material roll and time. Plot the first occurrence against warm-up, hopper refill, roll change, cleaning, speed change, planned stop, maintenance work and upstream or downstream alarms.
Use the first alarm in the sequence. Later alarms may only report that the web stopped, a buffer filled, or a downstream card did not arrive. If the line contains separate machines, check the handoff condition and agreed interface signals. A local blister-machine adjustment cannot correct an unstable upstream supply or blocked downstream discharge.

Repeat the fault under controlled conditions only when the safety, quality and production procedures permit it. Record good output, rejects, stops and interventions during the confirmation run. If the result cannot be reproduced, retain the evidence and define additional monitoring instead of declaring the problem solved.
Prevention and escalation
Turn each confirmed cause into a controlled maintenance or process action
A corrective action should address the verified cause and include an owner, due date, affected documents, parts or training, confirmation method and effectiveness review. Do not turn one fault into an invented universal replacement interval.
21 CFR 211.67 requires equipment to be cleaned and maintained at appropriate intervals and requires written procedures covering responsibility, schedules, methods, disassembly and reassembly where necessary, previous-batch identification, protection of clean equipment and pre-use inspection. Records of maintenance, cleaning and inspection must be kept.
Escalate instead of continuing local adjustment when
- the safety system, guard or interlock is involved;
- product identity, quality or affected-batch scope is uncertain;
- a calibrated measurement disagrees with the machine display;
- tooling, wiring, controls, software or validated limits may need modification;
- the fault recurs after the approved part or procedure is restored;
- two machines or suppliers disagree about an interface condition; or
- the evidence is insufficient to show that the proposed action removed the cause.
Questions from operators and engineers
Capsule blister packing machine troubleshooting FAQ
What should be checked first when capsule blister rejects increase?
Contain the affected output, identify the first defect and location, review the first alarm and compare recent product, material, recipe, tooling, cleaning and maintenance changes. Break the reject total down by defect type, lane and time before adjusting the machine.
Why does the same blister pocket stay empty?
A repeated empty position often points to a local product path, guide, feeder part, pocket or detection channel. Confirm the physical pocket before sealing, then inspect the corresponding path under the approved stopped and safe condition.
Why do capsule feed jams get worse during a run?
Possible causes include changing hopper conditions, static, product fragments, capsule variation, surface behaviour, accumulation or a part that moves or warms during operation. Record the time pattern and product condition instead of assuming one universal feeder setting.
How should shallow blister cavities be diagnosed?
Inspect formed web before loading, map the defect by pocket and web direction, confirm the material and tooling, then compare actual web tracking, heating or forming inputs, cooling and tool condition with the approved process.
Can sealing temperature be increased to fix a weak seal?
Not as an uncontrolled first response. A weak seal may come from the wrong materials, product or contamination in the seal land, web registration, tension, tool condition or another process input. Follow the approved investigation and verify any authorized change with the required pack test.
What causes off-centre punching on blister cards?
Possible causes include web tracking, index-length variation, printed-repeat sensing, web stretch, lateral drift, tooling position or punch alignment. Compare cavities, artwork, perforation and the final cut on the same marked web sample to find where registration first departs.
Why does a vision system reject a blister that looks correct?
The inspection recipe, lighting, focus, reference image, trigger or tracked web position may not match the current pack. Preserve the sample and compare the physical blister with the recorded inspection result before changing thresholds.
When should the machine supplier be called?
Escalate when safety controls, validated limits, tooling, wiring, software or calibrated measurement are involved; when the fault recurs after approved restoration; when multiple machines share the fault; or when available evidence cannot confirm the cause.
Send the fault pattern, samples and machine context before changing the process
Share the capsule and material lots, blister drawing, affected samples, defect position, alarm timeline, recipe and recent changes. HIJ can help define the evidence needed for a focused technical review of the blister-machine scope.
About this guide: written for trained packaging, maintenance, engineering, quality and operations teams. It supports structured diagnosis; it does not authorize unsafe access, unapproved parameter changes, batch release or modification of validated equipment.